How to Programme a Knitted Bag Shape: The Six Decisions That Run From Drawing to File
How is a knitted bag shape actually programmed? The drawing is translated into a per-course instruction set: which needles knit, tuck or miss, which yarn each feeder carries, what tension applies in each zone, and where the piece narrows, widens or rotates. On a 34 x 38 cm tote at E12 that is roughly 160 courses across 160 working needles, with a 60 mm taper costing about 84 extra courses. This article sets out the six decisions in the order they have to be taken.
Start With the Load Path, Not the Silhouette
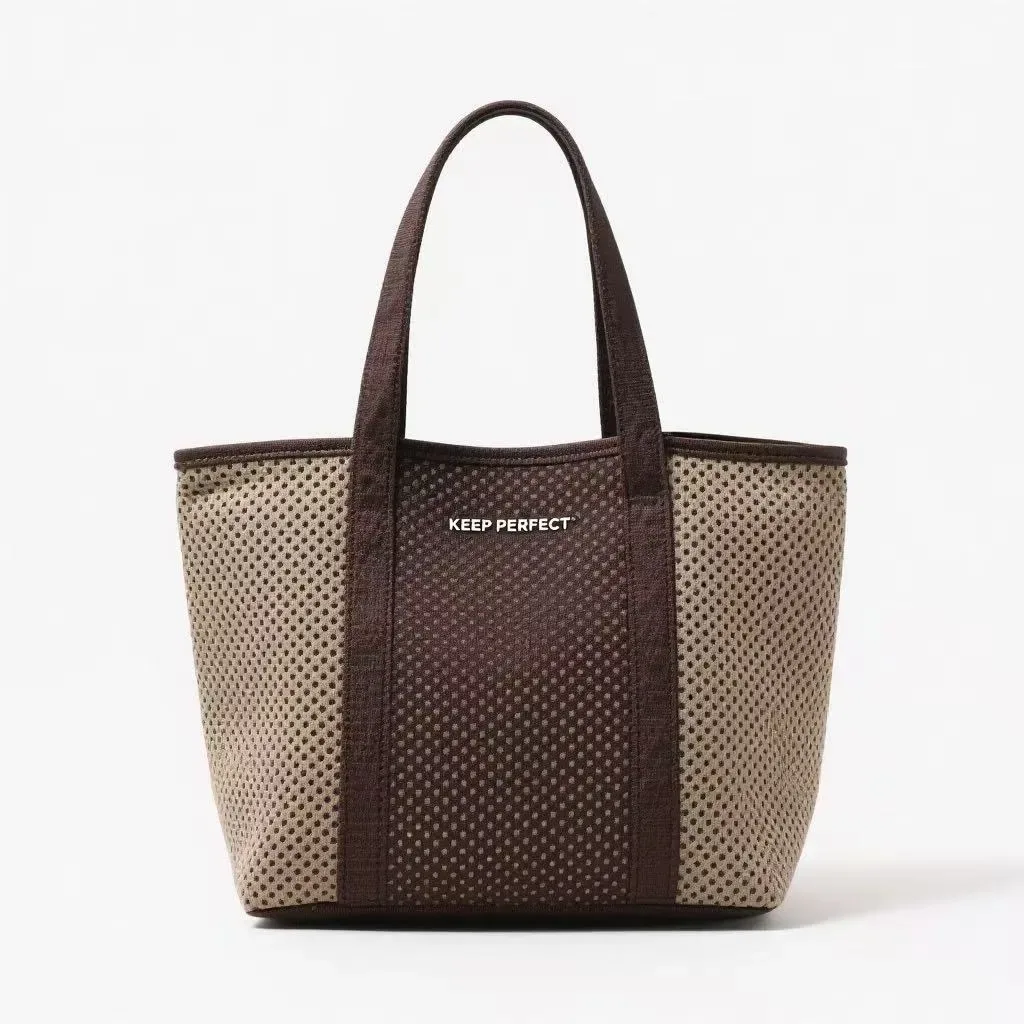
Start the file from the load path rather than the outline, because the load path decides where reinforcement structure sits and where the piece may be left open and light. A drawing programmed purely as an outline produces a body of even density everywhere, which is both heavier and weaker than one with a designed load path. A tote carrying 8 kg loads its handle roots and its base-to-body line far harder than its side panels, and programming the body evenly ignores that asymmetry completely.
In practice that means marking three things on the drawing before any knitting is written: where carried load enters the body, where it exits, and which zone takes abrasion when the bag is set down. Those three marks generate most of the structure map, and they take about ten minutes to agree.
Getting the order wrong is expensive. Load paths designed after the outline exists usually require the structural sequence to be rewritten rather than adjusted, which means another full sampling round at 7 working days each plus another set of laboratory tests on a fresh lot.
Step One: Panel or Whole-Piece Construction
The first decision is whether the piece leaves the bed finished or as a panel that will be joined, and the answer follows from the silhouette: a gently domed shopper can be knitted complete, while a design with a sharp internal corner or a flat rigid face cannot. Choosing wrongly here costs more than any later correction, because it changes the entire file architecture rather than a line inside it. The three tests that settle it quickly are the tightest internal corner, whether any face must stay genuinely flat, and whether hardware has to sit at a point the bed cannot reach.
Whole-piece body
Handles, border and panel in one sequence. Fewest operations, tightest tolerance, most demanding file. Right for gently curved shoppers and totes.
Tube with inserted base
A knitted tube closed by an inserted or moulded base. The usual answer where the bag is set down loaded and abrasion concentrates at one line.
Flat panels then assembly
Panels knitted flat and joined by sewing or welding. Simplest files, easiest to resize later, most flexible on trim and hardware.
Panels with knit-in zones
Flat panels carrying reinforcement or branding zones, then assembled. Common where branding needs finer definition than the body structure allows.
Step Two: Translate Shape Into Courses and Wales
Every dimension on the drawing has to become a count: at E12 with 42 courses and 47 wales per 10 cm, a 34 x 38 cm tote is about 160 wales wide by 160 courses tall. Programming is arithmetic at this stage — the shape exists only as numbers until the file is written, and an incorrect count here cannot be corrected later by tension, because tension moves loop length while the course count is fixed by the file. A shape that is 4 courses short is 4 courses short at every tension setting.
| Drawing dimension | Density used | Count in the file | Notes |
|---|---|---|---|
| 38 cm body height | 42 courses per 10 cm | 160 courses | Rises to 182 at 48 courses per 10 cm |
| 34 cm body width | 47 wales per 10 cm | 160 wales | Fits well inside a 127 cm working width |
| 60 mm taper | 2.12 mm needle pitch | 28 needles per side | Transferred one per side every three courses |
| 70 mm gusset | Shaped over 20 courses | 20 courses of widening | Rate kept under two needles per side per course |
| 24 course rib border | 1x1 rib | 24 courses | Recovery of about 96% after a 5% stretch |
| Short-row rotation | 12 courses maximum | 12 courses | Beyond this the border shows tension marks |
Record those counts on the dimension sheet alongside the millimetres. A technician correcting a sample then works from the same numbers the buyer approved, which is the single most effective way to avoid a second round caused by two parties reading the same drawing differently. It also makes the correction traceable: if a dimension moves the wrong way after a tension change, the sheet shows exactly which count was assumed when the loop length target was set.
Step Three: Place Structure Changes Inside the Panel
Structure can change within a single course, which is the capability most under-used in bag programming: a reinforced band across the load path, a ribbed border at the mouth, a decorative pointelle zone on the side, all in one continuous piece. Planning the map before writing the sequence is faster than adding zones afterwards.
Each change has a cost. Structure transitions interrupt the even rhythm of the carriage and reduce speed for several courses either side of the change. Three well-placed zones usually programme and run cleanly; six scattered ones turn a 9-minute cycle into a 13-minute cycle for no visible benefit.
Step Four: Set Tension Values Zone by Zone
Tension should be set per zone rather than globally, because a reinforced band, a ribbed border and an open field each want a different yarn tension to hold loop length at target. A single global setting forces one zone to be wrong, and the symptom is usually width drift rather than an obvious fault.
Tension setting rules
- Set tension per zone and record the value against the style number and file version.
- Hold loop length at target across zones; tension is the tool, loop length is the goal.
- Watch take-down tension first when width drifts between sampling rounds.
- Re-read tension after any yarn lot change, even when the nominal count is unchanged.
- Confirm the setting on the machine that will run the bulk, not only the sample machine.
Step Five: Write the Shaping Sequence
Shaping is written as a rate rather than a drawing: narrowing one needle per side every three courses, widening up to two needles per side per course, and short-row work limited to about 12 courses before the border shows tension. Expressing the design as rates makes it repeatable and lets a technician adjust one parameter instead of redrawing the piece.
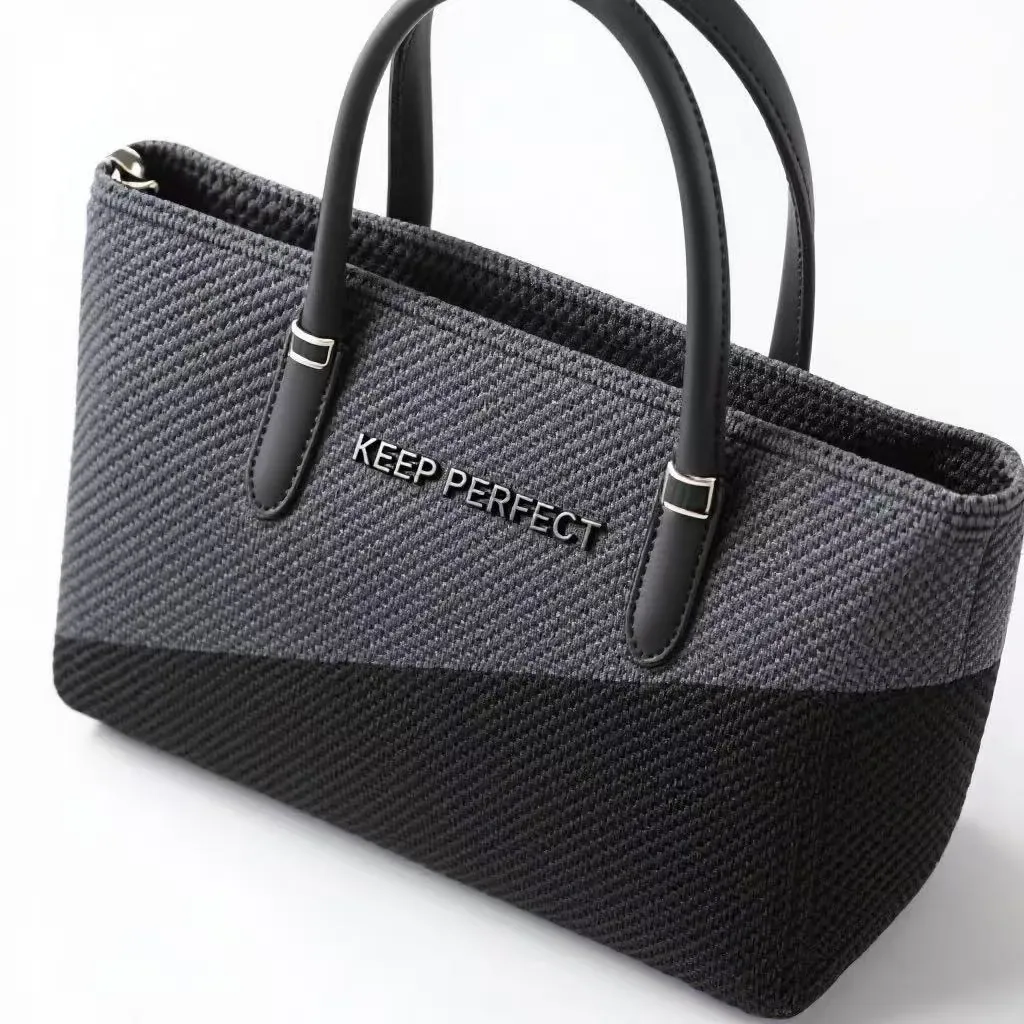
Rates also make the limits visible early. A 60 mm taper over 28 needles per side costs about 84 extra courses, which is most of a minute of cycle time; asking for the same taper over 12 courses asks the loop to distort past what finishing will hide. Stating rates rather than outlines also makes handover between machines clean, because a rate is a number a technician can reproduce without seeing the original sketch.
Have your drawing costed as a file
Send the silhouette, dimensions and carried load. You receive a programme plan with course counts, shaping rates, predicted cycle time and a sampling window inside one business day. Open the contact page.
Step Six: Sample, Measure, Correct One Loop at a Time
Sample correction is a loop-level activity, not a drawing-level one: change one parameter, relax the piece, measure, and only then change the next. Changing two parameters at once produces a sample that measures correctly for the wrong reason and a bulk run that drifts back.
Most programmes need two rounds. The first proves the structure and the silhouette, the second proves the dimensions and the finishing route. A third round usually indicates something was left unspecified rather than something was made badly, and the gap is almost always a tolerance or an acceptance criterion. Writing that gap down at the start of round two is worth more than any adjustment to the file, because it decides what good will mean when the bulk arrives.
Version Control: What Belongs on Every File
Every file should carry a style number, a version number, a date, the gauge and yarn specification it was written against, and a note on what changed from the previous version. Without those five items, nobody can tell which of three samples in a parcel is the approved one, and the programme stalls on an administrative question.
Keep the previous version rather than overwriting it. When a correction makes a dimension worse, the fastest route back is the last version that measured correctly, and a file with a change note attached explains why the new parameter failed.
Handing Over: From Approved File to Production
Handover is complete when the approved file version, the yarn lot, the tension settings, the finishing route and the test targets are all recorded in one place, because those five items are what production will be held to. Anything left in an email thread becomes an assumption on the floor.
- Reference shape
- 34 x 38 cm tote at E12, about 160 courses by 160 wales
- Shaping rate
- narrow one needle per side every three courses
- Widening limit
- two needles per side per course
- Short-row limit
- about 12 courses before the border marks
- Minimum border radius
- about 12 mm on a shaped edge
- MOQ
- 100 pcs per style / colourway
- Sampling and bulk
- 7 working days, then 30 days
- Inspection and shipping
- AQL 2.5 (ISO 2859-1), FOB Xiamen
Frequently Asked Questions
What does programming a knitted bag actually involve?
It means writing a per-course instruction set that tells the machine which needles knit, tuck or miss, which yarn each feeder carries, what tension applies in each zone, and where the piece narrows, widens or rotates. The drawing becomes numbers first and loops second. Nothing about the bag exists except what the file states, which is why unclear drawings produce expensive sampling rounds. A complete specification removes the ambiguity before the programme starts, and it is the most economical insurance available to a buyer at that stage.
How is a bag drawing converted into machine instructions?
Each dimension is divided by the relevant density. At E12, with 42 courses and 47 wales per 10 cm, a 38 cm height becomes about 160 courses and a 34 cm width about 160 wales. Shaping is then expressed as a rate, such as one needle per side every three courses. Recording those counts on the sheet keeps both parties working from identical numbers.
Which gauge should a first programme be written to?
E12 for most bags, because it holds a silhouette without the cycle-time penalty of finer work. E14 suits pieces carrying jacquard branding or a tight device pocket, and E7 suits coarse promotional shapes. Settle gauge at briefing: changing it later means rewriting loop length, tension values and the shaping sequence, which is a full second development.
How many sampling rounds should a programme expect?
Two is normal. The first proves the structure and the silhouette, the second proves the dimensions and the finishing route. A third round usually indicates something was left unspecified rather than something made badly, and the missing item is nearly always a tolerance or a mechanical acceptance criterion. Each round runs 7 working days.
What is a sensible shaping rate to specify?
Narrowing one needle per side every three courses is routine and safe. Widening can reach two needles per side per course before the loop starts to distort. Short-row work should stay within about 12 courses, because beyond that the border shows tension marks that finishing does not remove. Minimum border radius is around 12 mm.
Should tension be set globally or by zone?
By zone. A reinforced band, a ribbed border and an open field each need a different yarn tension to hold loop length at target. One global setting guarantees that at least one zone is wrong, and the symptom is usually width drift between rounds rather than an obvious fault. Record each value against the file version.
Why does the same file knit differently on two machines?
Because take-down tension, cam settings and feeder condition all vary between machines, and all three change loop length. A file is written to a loop length target, not to a machine. Confirm tension on the machine that will run the bulk, and re-read it after any yarn lot change, even when the nominal count is unchanged.
How should file versions be managed?
Carry a style number, version number, date, the gauge and yarn specification the file was written against, and a note on what changed from the previous version. Keep the previous version rather than overwriting it. When a correction makes a dimension worse, the fastest way back is the last version that measured correctly.
What should the tech pack contain for a shaped knit?
A dimension sheet with tolerances and the matching course and wale counts, a structure map by zone, the yarn specification with count and number of ends, the loop length target, the shaping rate, the test methods with their targets, the packing specification and the inspection level. Any gap becomes a week of email during sampling.
How long does sampling and bulk take on a knit programme?
Sampling takes 7 working days per round and bulk production runs 30 days. The minimum is 100 pcs per style or colourway. Because there is no pattern to grade and no cutting marker to make, a new colourway does not extend that window, which is the main calendar advantage over an assembled route.
What inspection standard applies to a knitted bag shipment?
Inspection runs to AQL 2.5 under ISO 2859-1, which sets sample size and the accept and reject numbers against lot size. Add a mechanical acceptance limit such as minimum handle pull-out force, because appearance criteria alone will pass a bag whose real defect is a weak joint. Test the bulk lot, not the sample.
Which tests confirm a programme was knitted to specification?
Abrasion to ISO 12947-2, tensile strength to ISO 13934-1, tearing resistance to ISO 13937, colour fastness to rubbing under AATCC 8 and to laundering under AATCC 61, plus a dimensional check after controlled relaxation. Running them on the bulk lot is what makes the results meaningful rather than merely reassuring.
People Also Ask
What file format does a knitting machine read?
Machines read their own programming files, produced by the maker's design software, which outputs the per-course instruction set. Buyers do not need the file; they need the specification it was written from — dimensions, gauge, yarn count, loop length target and shaping rate.
Can I programme a bag shape without a technician?
Not usefully. The drawing supplies intent, but translating a taper into a needles-per-course rate requires knowing where the loop distorts. Supply a complete specification and let the programmer convert it; that division of work produces the fewest rounds.
How do I stop a shape drifting between samples?
Fix gauge, yarn count and loop length target, then change one parameter per round and always measure after relaxation. Most drift comes from an unstated tension value or a yarn lot change rather than from the file itself.
What is the minimum radius on a shaped border?
Around 12 mm in practice. Tighter radii force loops to distort faster than they can relax, and the resulting tension marks survive finishing. Where a design needs a sharper corner, an inserted component handles it.
Does shaping add cycle time?
Yes. Every shaping course runs at reduced carriage speed, and a 60 mm taper across 28 needles per side can add about 84 courses, close to a minute on a 9-minute cycle. That is why shaping belongs in the cost model, not just the drawing.
Sources and further reading
Every figure on this page is either our own programme data or attributed below. Open the originals before you write them into a specification.
- Flat knitting machinery and programming systemsShima Seiki Reference for how shape files are authored and transferred to the machine.
- ISO 2859-1 — Sampling procedures for inspection by attributesISO Defines the AQL-indexed sampling plan applied at final inspection for knit bag shipments.
- ISO 13934-1 — Tensile properties of fabrics, maximum force by the strip methodISO Referenced when specifying mechanical acceptance limits for handles and joins.
- AATCC standard test methods and proceduresAATCC Source for AATCC 8 rubbing and AATCC 61 laundering colour fastness tests.
What a Complete Programme Pack Looks Like
Once the six decisions are taken, the pack writes itself: a dimension sheet carrying millimetres and the matching course and wale counts, a structure map by zone, the yarn specification with count and number of ends, the loop length target, tension values by zone, the shaping rates, the trim and hardware list, the test methods with targets, the packing specification and the inspection level. Ten lines, one page, no ambiguity.
From there the commercial frame is fixed: MOQ 100 pcs per style or colourway, sampling in 7 working days, bulk production in 30 days, inspection to AQL 2.5 under ISO 2859-1 and shipping FOB Xiamen with CIF or DDP available. Programme coordination has run on those terms since 2014, carried on 7 production lines producing about 200,000 pcs per month through an SGS-validated partner production facility.