Knitted Bag Photography: Lighting Ratios, Fill Power and Stitch-Texture Capture for Seamless Knit Products
A European accessories buyer photographed her first seamless knit tote with the same two-light setup she had used for coated canvas, and the listing returned a 21% return rate with the phrase looks different from the photo in almost every free-text field. The cause was not the camera: a loop structure is a relief surface, and under flat frontal light the stitch disappears, so the body reads as printed nylon. The fix is one raking light at about 25 degrees to the surface, a 2:1 key-to-fill ratio and a polarised 5600K source, which together restore the shadow that tells the eye the material is knitted. This article gives the setup, the capture settings, the five-frame sequence and the handback specification.
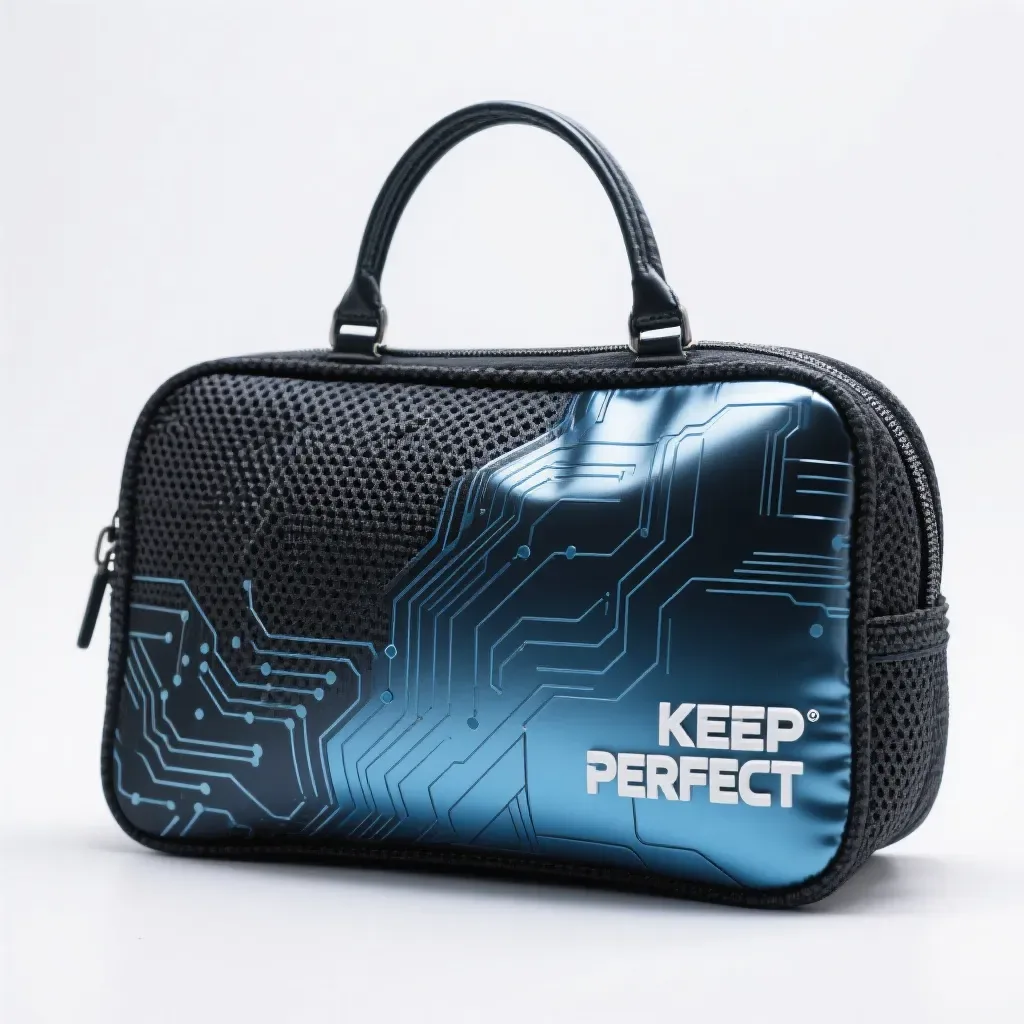
Why Knitted Surfaces Photograph Differently Than Woven Ones
A knitted surface photographs as a relief rather than as a plane, so any lighting that is flat and frontal removes the only cue — the shadow inside each loop — that tells a shopper the material is knitted rather than printed.
The physical difference is small but decisive. A stitch on a gauge E12 body stands perhaps 0.4 mm proud of the surrounding loops, and that 0.4 mm casts no shadow at all when the light arrives along the camera axis. Under raking light the same 0.4 mm produces a shadow over roughly a third of each loop, and the eye reads that repeated pattern as texture. Woven fabrics do not depend on this because their texture is carried by the yarn crossing rather than by the loop height, which is why a setup validated on a canvas bag fails on a knit bag without anyone being able to say exactly what is wrong. The failure is reported as a colour or quality problem, and it is neither.
The Three-Light Setup That Reads a Stitch
A knitted bag needs three sources — a key at 45 degrees, a fill at a deliberately lower power, and a raking light close to the surface plane — because two of them build the form and the third is the only one that builds the texture.
The temptation is to add a fourth light, and it almost always makes the image worse. Every extra source fills the shadow that the raking light has just created, and the loop definition collapses back toward the flat reading the setup was built to avoid. A workable arrangement puts a 90 cm softbox as the key at 45 degrees to the camera axis and about 1.5 m from the set, a white or silver bounce card as the fill on the opposite side, and a small striplight or a bare reflector low and to one side at roughly 25 degrees above the surface plane. The third light is doing a different job from the first two and should be metered separately rather than balanced with them.
- Key light
- 90 cm softbox at 45 degrees to the camera axis, about 1.5 m from the set, 5600K
- Fill
- White bounce card opposite the key, metered at half the key power for a 2:1 ratio
- Raking light
- Striplight or bare reflector at about 25 degrees above the surface plane, on one side
- Background
- Mid-grey seamless, roughly two stops below the product, to keep the edge clean
- Polarisation
- Linear polariser on the key and on the lens to kill specular sheen on filament yarn
- Colour temperature
- 5600K across all three heads, so a single white balance holds for the whole set
Key-to-Fill Ratio, Beam Angle and the Texture Shadow
A 2:1 key-to-fill ratio is the working setting for a knitted bag body; at 4:1 the shadow side of the bag loses the stitch entirely, and at 1:1 the loop shadow is filled in and the surface reads flat again.
Ratio and beam angle are the two controls that decide whether the texture survives, and they interact. A wide beam from a large softbox wraps the form gently and produces soft, low-contrast shadows, which is right for the shape of the bag and wrong for its surface. A narrow beam from a small source produces hard, directional shadows, which is right for the surface and unforgiving on the form. Running both at once is the point of the three-light setup: the large key handles form at 2:1, and the small raking source handles surface, metered independently at whatever power preserves the loop shadow without clipping the highlight on the top of a loop.
| Setup | What it does to the loop | Where it is the right choice |
|---|---|---|
| Flat frontal, 1:1 | Loop shadow is filled; surface reads as a printed plane | Never on a knit body; acceptable for a flat swatch record |
| Single key at 45 degrees, 2:1 | Form reads well, surface still weak on the shadow side | Catalogue frames where texture is not the selling point |
| Key plus fill plus raking light | Loop shadow present across the whole visible surface | Hero frame, detail frame and any frame carrying a texture claim |
| Raking light alone | Texture strong, but the form of the bag disappears | Macro detail crops used as a secondary frame |
| Four or more sources | Each additional source fills the shadow the raking light created | Only where a set has to be lit for video as well as stills |
Camera, Lens and Capture Settings for Loop Definition
Shoot a knitted bag at f/8 on an 85 mm or 100 mm macro lens at ISO 100, because f/8 is where a loop across the full depth of a body stays sharp, and wider apertures put the front loops out of focus while the handle falls soft.
The camera settings matter here in a way they do not for a flat product. A bag is roughly 30 cm deep, so the front face and the back face sit far enough apart that the depth of field has to be planned rather than assumed: at f/2.8 the front loops are sharp and the gusset is soft, and the shopper reads that softness as a quality problem rather than as a lens choice. Stopping to f/8 buys enough depth for the whole body at the cost of shutter speed, which is not a real cost on a static set at ISO 100. A polariser costs about one stop and should be metered into the exposure rather than compensated afterwards, because raising exposure in post on a polarised knit surface lifts the black point inside the loops and washes out the texture the lighting was built to produce.
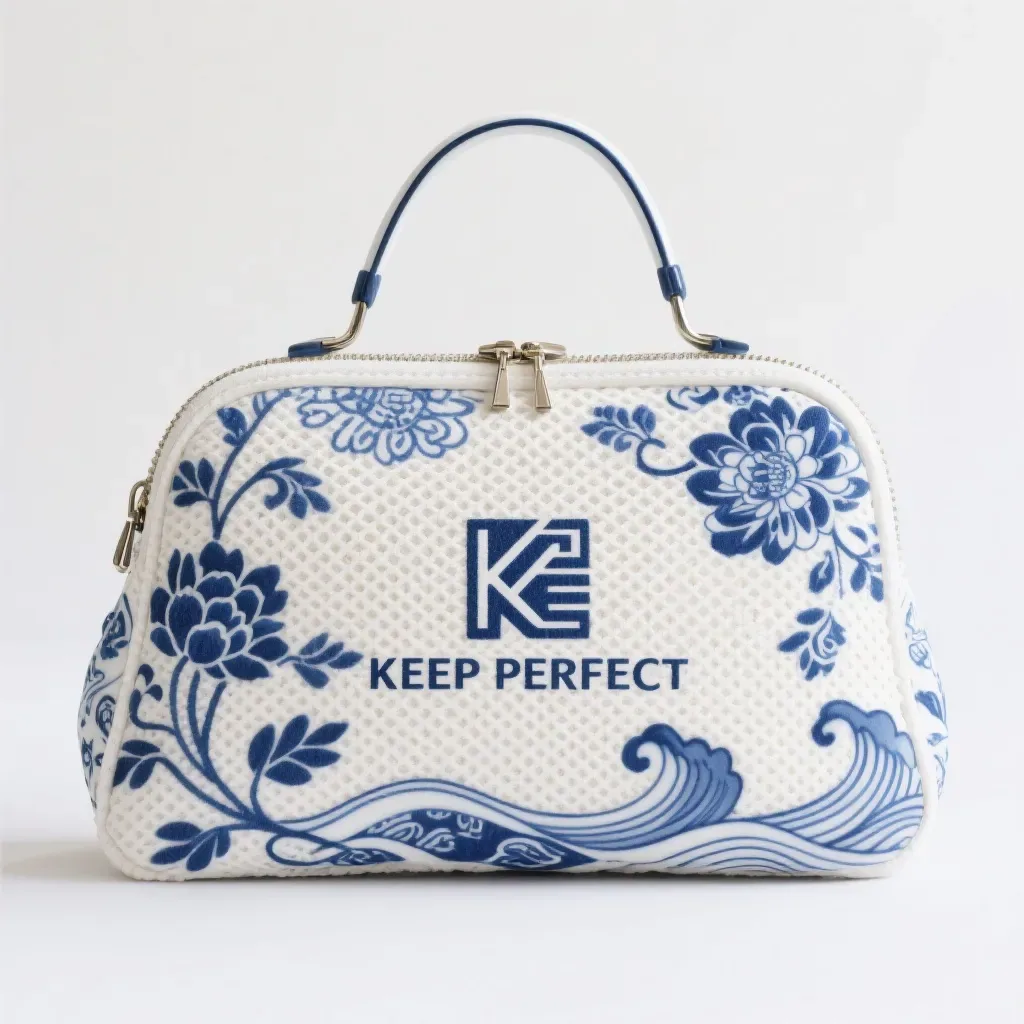
Colour Management: Grey Cards, White Balance and Shade Accuracy
A knitted bag photograph should be shot against an 18% grey card in the first frame of every set and white-balanced from it, because a loop structure shifts the measured value of a shade by up to 1.2 Delta E against the flat chip the brand approved.
Colour accuracy on knit is the complaint that generates the most returns and the least sympathy, because the buyer believes the product is wrong when the photograph is wrong. Two habits prevent it. The first is a grey card in frame one of each set, shot at the same exposure, so every subsequent frame can be balanced to a known neutral rather than to an auto reading that drifts between frames. The second is to accept that the photograph will never match the reference chip exactly, and to correct toward the approved knitted swatch rather than toward the chip. A post-production operator working from the chip will push the image until the loop reads like the flat standard, and at that point the photograph is accurate and the product is not.
Colour discipline for a knit photography set
- Fix white balance manually from an 18% grey card, never from auto, and do not change it between frames.
- Keep all heads at 5600K; a mixed-temperature set cannot be corrected without shifting a shade.
- Correct toward the approved knitted swatch, not toward the flat brand chip.
- Shoot in sRGB for e-commerce and in Adobe RGB only where the print route requires it.
- Include a colour reference in the first frame of every set so a reshoot can be matched.
- Do not lift the black point inside the loops; doing so destroys the texture the lighting created.
The Five-Frame Shot Sequence for a Product Page
Five frames cover a knitted bag listing: a hero three-quarter, a flat front, a back, a detail crop at 1:1 and a scale frame with a recognisable object, and the detail crop is the one that carries the seamless claim.
The sequence is not arbitrary. A shopper looking at a knit product is asking three questions in order — what is it, how is it made, and how big is it — and the frames answer them in that order. The hero establishes the shape and the shade in one image, which is why it gets the full three-light setup. The front and back are record shots and can be shot with the raking light off, which speeds the set considerably. The detail crop is where the purchase decision is made on a seamless product, because it is the only frame that shows there is no seam. The scale frame prevents the size returns that dominate the returns profile on any bag category, and it should include an object of known dimension rather than a hand.
Hero, three-quarter
Full three-light setup, 2:1 ratio, raking light on. Carries shape, shade and texture in a single frame and becomes the listing thumbnail.
Front and back record
Key and fill only, raking light off. Roughly half the set time of the hero and used for the specification check rather than the sale.
Detail crop at 1:1
85 mm macro, raking light on, focused on the point where a seam would be. The only frame that substantiates a seamless claim.
Scale frame
Bag beside an object of known dimension, shot from the same height. Targets the size-expectation returns that dominate the category.
Ghost Mannequin, Flat Lay and In-Use Frames
A knitted bag should be shot filled rather than hollow, because an empty knit body collapses along its own loop structure and reads as a soft, shapeless pouch that no shopper recognises as the product on the shelf.
This is the single biggest difference between photographing knit and photographing structured bags. A coated canvas tote holds its shape empty; a knit body does not, and photographing it hollow produces a frame that is accurate and unsellable. The standard remedy is light filling with tissue or a shaped insert, enough to hold the silhouette without distorting the panels, and it takes about four minutes per unit on a set of twenty. In-use frames need the same treatment. A model shot where the bag is empty and slumped reads as a defect, and the fix is not retouching but filling, which costs less and survives a zoom.
File Delivery: Resolution, Naming and Handback
Hand back knitted bag photography at 2400 px on the long edge in sRGB, with a layered file retained at full resolution and a file name that carries the style and colourway code rather than a sequence number.
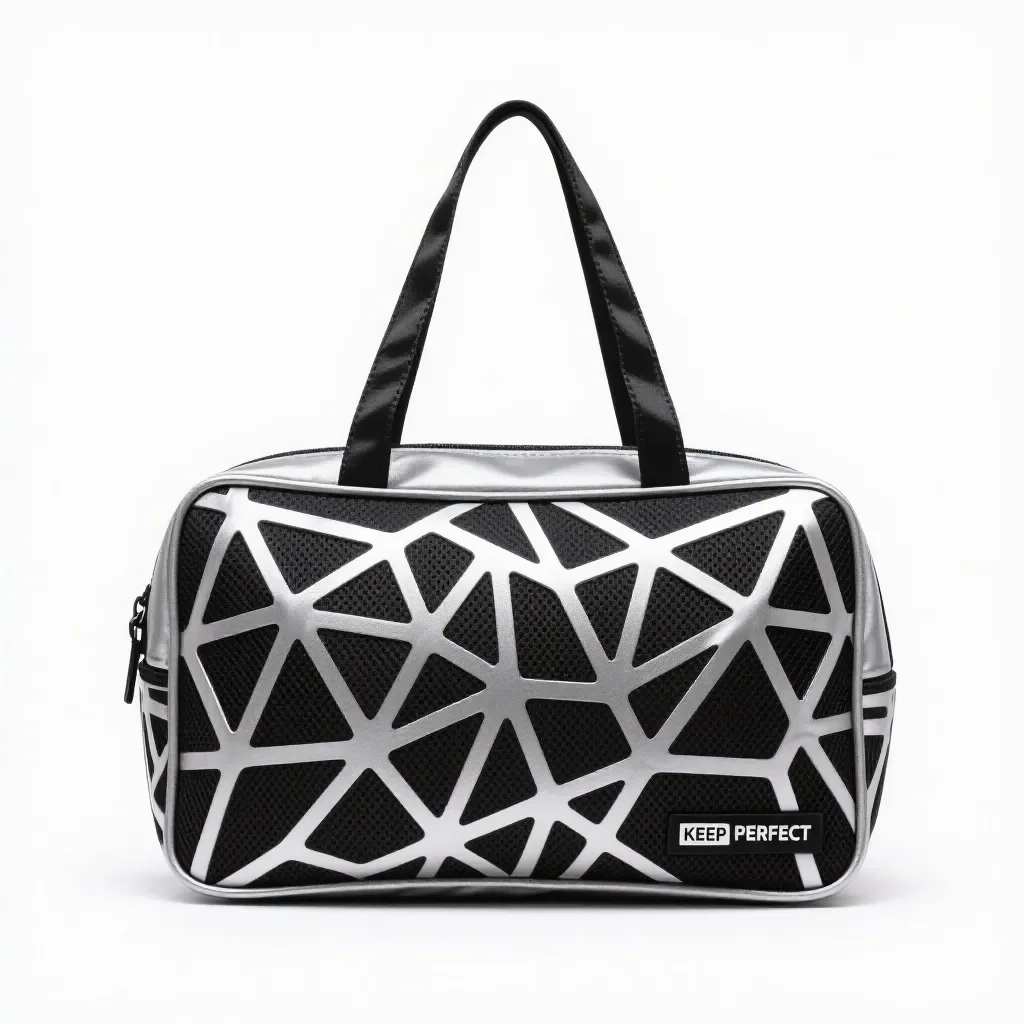
The resolution figure is set by the zoom function rather than by the page. Marketplace and retail templates commonly offer a zoom to roughly 200% of the display size, so a 2400 px file is the floor at which a detail crop still resolves individual loops rather than turning to mush, and it is the point at which a texture claim can be checked by the shopper. Above about 3000 px the additional data is not visible on a mobile screen and only slows the page. Naming is the part that gets skipped and later regretted: a set of files named IMG_4401 through IMG_4600 cannot be matched to a colourway six months later when a shade is disputed, whereas a name carrying the style and colourway code can.
Commission imagery for a knit range
Send the style count, the colourway split and the channels the imagery has to serve. Our knit team will return a shot list, a lighting specification, a handback standard against 2400 px in sRGB, and a schedule built on 7 working days of sampling and 30 days of bulk. Start on the contact page.
Frequently Asked Questions
Why do knitted bags look flat in product photography?
Because flat frontal light removes the shadow inside each loop, and that shadow is the only cue that reads as knit. A loop on a gauge E12 body stands about 0.4 mm proud, which casts nothing when the light arrives along the camera axis and casts a visible shadow under raking light.
What key-to-fill ratio should I use for a knitted bag?
Use 2:1 as the working setting. At 4:1 the shadow side of the bag loses the stitch entirely, and at 1:1 the loop shadow is filled in and the surface reads as a printed plane. The ratio only controls form; texture needs a third source.
How many lights does a knitted bag set need?
Three: a key at 45 degrees, a fill at half the key power, and a raking light close to the surface plane. Adding a fourth usually makes the image worse, because each extra source fills the shadow the raking light was added to create.
What aperture keeps a whole knitted bag sharp?
f/8 on an 85 mm or 100 mm macro lens at ISO 100. A bag is roughly 30 cm deep, so at f/2.8 the front loops are sharp and the gusset is soft, and a shopper reads that softness as a quality fault rather than as a lens choice.
Should I use a polarising filter on knitted bag photography?
Yes, on the key and on the lens, to remove specular sheen on filament yarn. It costs about one stop of light, which should be metered into the exposure rather than compensated in post, because lifting the black point washes out the texture.
How do I keep the photographed shade accurate to the approved one?
Fix white balance manually from an 18% grey card and correct toward the approved knitted swatch rather than the flat brand chip. A loop structure shifts the measured value of a shade by up to 1.2 Delta E against the chip it was matched to.
What resolution should knitted bag photography be delivered at?
2400 px on the long edge in sRGB. Retail templates zoom to roughly 200% of display size, and below this figure a detail crop stops resolving individual loops. Above about 3000 px the extra data is invisible on mobile and only slows the page.
How many frames does a knitted bag listing need?
Five: a hero three-quarter, a front, a back, a 1:1 detail crop and a scale frame. The detail crop carries the seamless claim, and the scale frame is the one that suppresses size-expectation returns.
Should a knitted bag be photographed empty?
No. An empty knit body collapses along its own loop structure and reads as a soft shapeless pouch. Light filling with tissue or a shaped insert holds the silhouette and takes about four minutes per unit on a set of twenty.
Why does my knitted bag photograph look a different colour from the product?
Usually because the operator corrected toward the flat brand chip instead of the knitted swatch. A loop surface reflects less light than a flat chip, so pushing the image until the loop matches the chip produces a photograph that is accurate and a product that looks wrong.
Can I photograph several colourways in one set?
Yes, and you should, because the lighting does not change between shades. What changes is the exposure: a black body needs roughly one stop more than a pale one, so meter each colourway rather than carrying the setting across.
How should photography files be named?
With the style and colourway code rather than a sequence number. A set named IMG_4401 onward cannot be matched to a shade six months later when a colourway is disputed, and the dispute is then settled by reshooting.
Does photography need to happen before bulk production?
Ideally yes, on a production sample. Sampling runs 7 working days, and a sample from the production bed at production gauge is the only object that photographs as the bulk will look, which is why a pre-production shot is worth waiting for.
What background works best for a knitted bag?
A mid-grey seamless roughly two stops below the product. A white background blows out the edge of a soft knit body and forces heavy post work, while a dark background loses the loop shadow that the lighting was built to produce.
People Also Ask
How do you photograph a knitted bag so the texture shows?
Add a raking light at about 25 degrees to the surface, separate from the key and fill. The loop shadow it creates is the only cue that makes a knit surface read as knit rather than as printed fabric.
What lighting ratio is best for product photography of bags?
2:1 key to fill for a knit body. A wider ratio loses the stitch on the shadow side, and a 1:1 ratio fills the loop shadow so the surface flattens out again.
Why does my knit product photo look like printed nylon?
The lighting is too flat and too frontal. Without a raking source, the 0.4 mm loop height casts no shadow, and the eye has nothing to read as texture.
How many product photos should a bag listing have?
Five: hero, front, back, a 1:1 detail crop and a scale frame. On a seamless knit product the detail crop is the one that substantiates the construction claim.
Should a knit bag be stuffed for photography?
Lightly, yes. An empty knit body collapses and looks shapeless. Tissue or a shaped insert holds the silhouette without distorting the panels and takes a few minutes per unit.
Sources and further reading
Every figure on this page is either our own programme data or attributed below. Open the originals before you write them into a specification.
- ISO 105-B02:2014 — Textiles, tests for colour fastness, Part B02: colour fastness to artificial light, xenon arcISO The light-fastness reference behind keeping a photographed shade stable through a season on a lit retail floor.
- ISO 105-X12:2016 — Textiles, tests for colour fastness, Part X12: colour fastness to rubbingISO Paired with the abrasion and rubbing figures quoted when a texture claim is made on a photographed surface.
- ISO 12947-2:2016 — Textiles, determination of abrasion resistance by the Martindale methodISO The abrasion threshold a knitted body holds, referenced when a detail crop is used to substantiate durability.
- WHOLEGARMENT knitting machinesShima Seiki The machine class behind the seamless construction that a 1:1 detail crop is photographed to show.
- OEKO-TEX STANDARD 100OEKO-TEX Finished-textile testing referenced whenever an imagery set carries a material or safety claim alongside a texture claim.
Texture Is a Lighting Decision, Not a Retouching One
Almost every flat-looking knitted bag photograph was lit for a woven product and then corrected in post, and post cannot put back a shadow that was never cast. One raking light, a 2:1 ratio and a grey-card white balance are three decisions made before the shutter, and they cost nothing per unit — while a reshoot of a twenty-piece set costs the set fee twice and pushes a launch back by about a week.
For the wording that sits beside these frames, see knitted bag product page copy. For the display conditions the imagery has to survive in store, see knitted bag merchandising, and for the code each file should carry, see knitted bag product naming. Programme timings sit under custom knit bags.